
.webp)
TABLE OF CONTENTS

Have questions or want a demo?
Customers migrate from MySQL RDS to Tessell for a variety of reasons, including NVMe performance, native backups, and instance-based pricing. For this purpose, AWS provides Database Migration Service (AWS DMS), a fully managed migration and replication service that has successfully migrated over a million databases. Migration is a straightforward procedure that is performed in 6 steps:
- Configure Source Database - MySQL RDS
- Configure Target Database - Tessell MySQL
- Test Connectivity between AWS RDS and Tessell Instance.
- Create a DMS instance in AWS.
- Migrate Schema(s) from Source Instance to Tessell MySQL Instance.
- Create and Start Migration Task
Migration time is dependent on the size of the data being moved and can take place at any time.
Configure Source Database - MySQL RDS
1. Enable automated backup in the RDS instance if not set already.
a. Working with automated backups - https://docs.aws.amazon.com/AmazonRDS/latest/UserGuide/USER_WorkingWithAutomatedBackups.html#USER_WorkingWithAutomatedBackups.Enabling
2. Set the binlog retention to an optimized time interval that can support CDC jobs.
a. Execute the below procedure in MySQL RDS instance.
b. call mysql.rds_set_configuration('binlog retention hours', 24);
3. Set the following values for the attached Parameter Group or create a new Parameter Group and attach it to the RDS instance.
a. Set the binlog_format parameter to "ROW"
b. Set the binlog_row_image parameter to "Full"
c. Set the binlog_checksum parameter to "NONE"
4. Restart the RDS Instance so that changes are effective.
Configure Target Database - Tessell MySQL
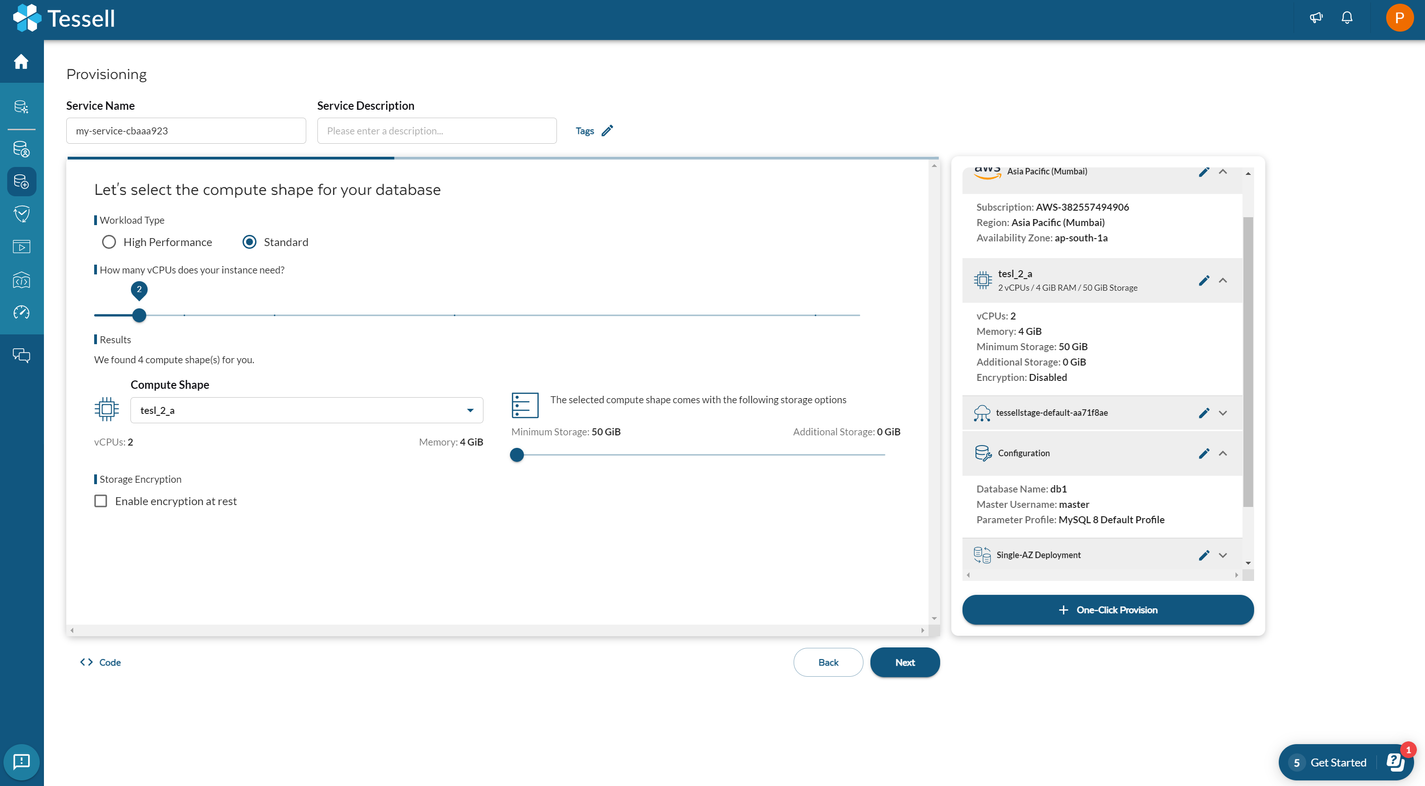
1. Provisioning Tessell MySQL Instance.
a. Provision the MySQL Instance using the desired compute shape, region, service name, MySQL version, VPC/Network, Public Access, etc as below and submit the request.
b. You can select the same VPC for Tessell instance if available as your RDS instance to ensure same network connectivity for apps, workflows etc.
c. If the Tessell instance is in a different VPC, as your RDS, a peering connection (VPC peering) has to be established so the apps can connect using the same private IP range.
- Please refer to VPC Peering: https://docs.aws.amazon.com/vpc/latest/peering/create-vpc-peering-connection.html
2. Once Tessell instance is provisioned and ready, make below changes to Tessell MySQL instance parameter groups or my.cnf config file. (Ssh to Tessell Instance)
a. Enable MySQL to accept local_infile Load for replication from DMS. In my.cnf add below line
b. Disable Binlog for speedy data copy to Tessell instance. In my.cnf add the following line
c. Configure InnoDB Buffer Pool to max limit of 60% of the Installed Memory.
d. Restart MySQL Service and perform sanity check for Tessell Instance.
Test Connectivity between AWS RDS and Tessell
1. If Peering connection is available between two VPCs (Tessell and AWS RDS) then private IP’s can be used to establish the connection. If private subnet is not available, connection can be tested using Public IP. Please ensure Public IP/Private IP’s are whitelisted in Tessell instance - Allowed IP list.
2. SSH to Tessell instance.
a. Run below mysql client command to connect to AWS RDS
b. Connectivity can also be tested using Telnet command.
Create a DMS instance in AWS
1. Navigate to DMS page and within Migrate Data Section click on endpoints and create a source and target endpoints respectively by giving information like hostname, username and password.
a. Source as AWS RDS endpoint URL.
b. Target as Tessell endpoint URL.
c. Test the endpoint.
2. Creating a replication instance.
a. Select Name, Description as desired
b. Select desired instance size and shape that will orchestrate migration. Typically 8Cpu and 16GB should do fine for most migration needs.
c. Engine version as default
d. Select either - Production - MultiAZ or Dev-Test - Single_AZ.
e. Storage as Default or set value as desired
f. VPC - Same as AWS RDS.
g. Publicly accessible if using Public IPs for Migration between RDS and Tessell.
h. Validate all settings and Click on Create
Migrate Schema(s) from Source Instance to Tessell MySQL Instance
1. Once connectivity is verified between source and target, DB schema (without data) should be created in the target before creating and starting DMS tasks
2. Use mysqldump utility to backup source database schema (without data) with procedures, triggers etc. (do for each user databases)
3. Create Database(s) in Target using the statement below (for each databases):
4. Use mysql client to load the dump to target (Tessell Instance).
5. Migrate Source Users/Logins to Target Instance (Tessell) using mysqlpump.
a. Use below command to load users to target instance.
b. Run below command in MySQL Client.
6. Validate login and review the created schema in Target instance. Once verified, we are good to progress with replication/migration of data.
Create and Start Migration Task
1. Navigate to create task page from DMS dashboard
2. Give the task a identifier(name of the task), description.
3. Select the Replication Instance that was created earlier, source and target endpoints.
4. For one time migration, you may select Migrate existing data and for continuous replication using CDC - Migrate and Replicate ongoing data changes.
5. Target table preparation mode:
a. Truncate. or
b. Do Nothing
6. LOB column considerations:
a. Select appropriate LOB Options for transferring variable field data. (longtext, text, varchar etc).
b. It is advisable to calculate the max LOB size for all table.columns in the database and specify the size in Limited LOB mode. With Limited LOB mode and size <= 64 KB, DMS performance is not affected. Data could be truncated for Rows.Column having length > specified size in Max LOB size.
c. If time and performance is not a constraint, we can select FULL LOB Mode in which DMS automatically determines the LOB length during run time and this may affect performance of DMS task considerably . It may take days to fully complete the migration depending on database size.
7. Turn on Validation for end to end comparison by DMS between source table and migrated target table. This will ensure migration/replication completeness.
8. Enable CloudWatch logs for capturing errors and debugging the issue during migration.
9. Select the schema(s) to be migrated.
a. Table mappings. This option define what tables to pickup during migration and what to exclude. You can either select it in the wizard. Which include defining the source schema and source table or you can provide this information via a json file example of which can be found in this link.
10. Advanced Settings:
a. You may enable control tables for all the options. This can be used for debugging.
b. Full Load tuning.
- Adjust the no of tables to load parallel per CPU. If DMS instance is configured with 8 CPU, consider keeping 8 or 6. Higher the CPU and CPU speed, more tables can be transferred parallelly to speed up migration.
- Commit Rate can be adjusted to max 50000. This might slightly improve performance.
11. Validate all the settings. Review and start the Migration task.
a. Monitor the task status in the DMS dashboard.
b. Review the CPU activity in the target by vmstats, top, utilities.
c. Monitor and Review the mysql processes in target by
12. Once data is fully migrated and the state is ongoing replication (In replication mode),
a. Run the ANALYZE TABLE command for all tables in Source and Target to capture accurate counts.
b. Review the data for several tables to ensure data is transferred fully and not truncated (for colums with LOB type).
c. Partial migration is also possible by filtering the only needed schema.tables.


