TABLE OF CONTENTS

Have questions or want a demo?
Overview
With increased scrutiny of data security, many organizations are being forced to adopt stringent data access policies. The ability to provide users and database administrators with only the data that they require to perform their functions is paramount. Tessell provides customers with the ability to sanitize their databases as an ad-hoc operation or as part of an automated process. This proves invaluable for creating downstream environments for application testing, where testers do not require access to the full production dataset. Tessell simplifies this process, making it both automated and seamless, so you can refocus your efforts on what’s truly important for your business.
In this guide, we will walk you through the Tessell toolkit applied to a PostgreSQL database hosted on AWS, detailing how to create sanitized data on-demand or via automation by executing the following steps:
- Create a database snapshot
- Perform a manual sanitization of the created snapshot
- Clone the sanitized snapshot to a new instance
- Verify that the sanitization process was successful
- Establish a sanitization schedule
- Implement an automated sanitization operation
Note: While this guide focuses on a PostgreSQL database on AWS, the outlined process is comparable for databases like Oracle, Microsoft SQL Server, and MySQL, irrespective of whether they are hosted on AWS or Azure.
Create a database snapshot
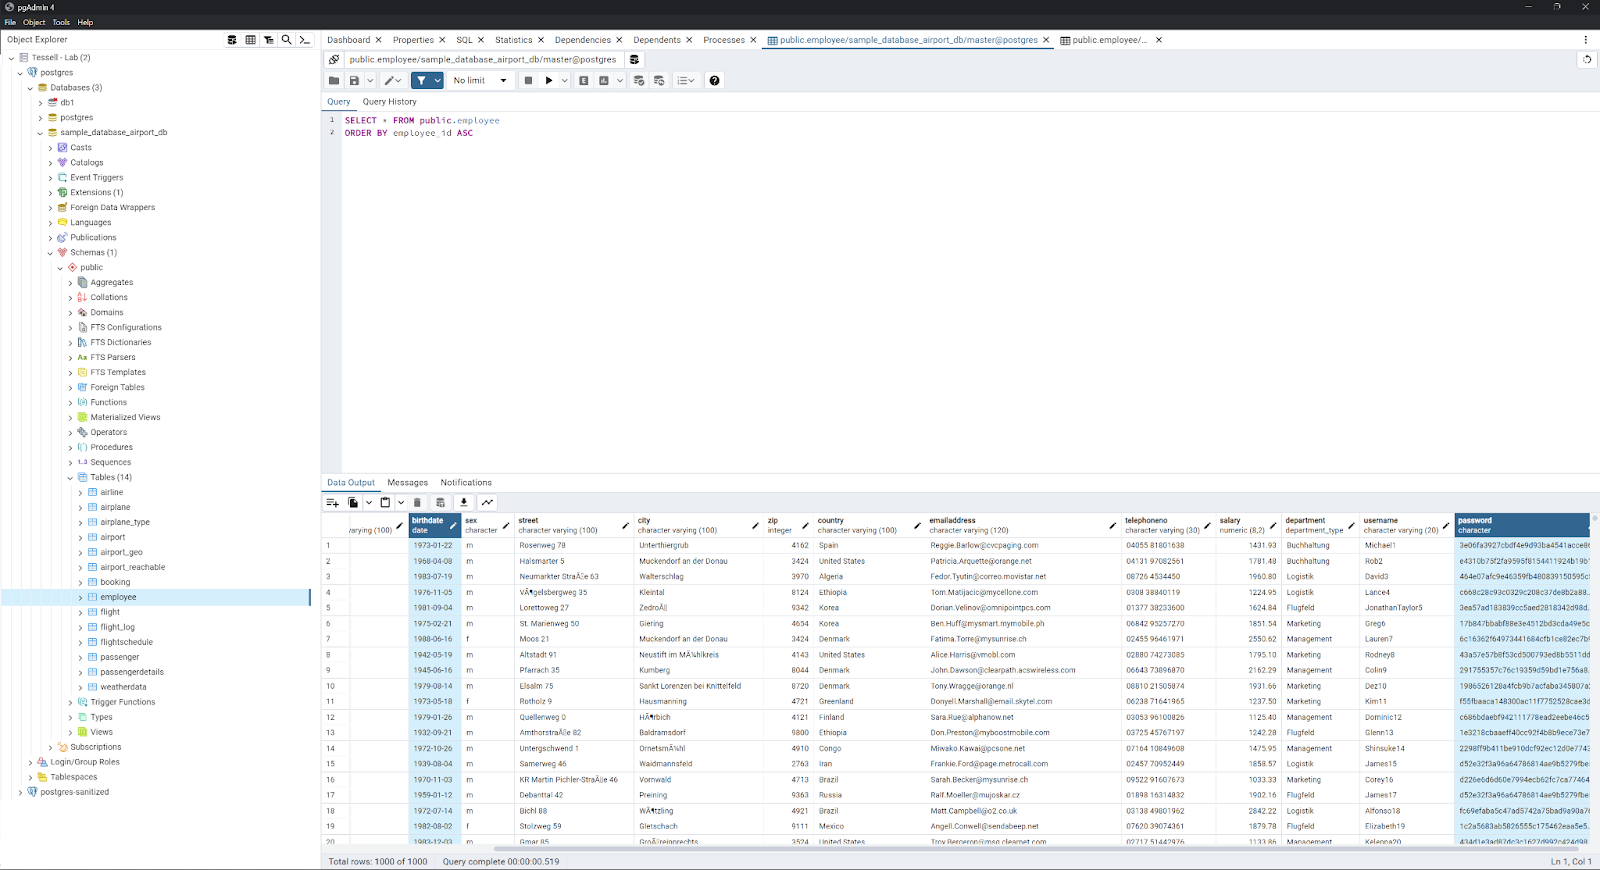
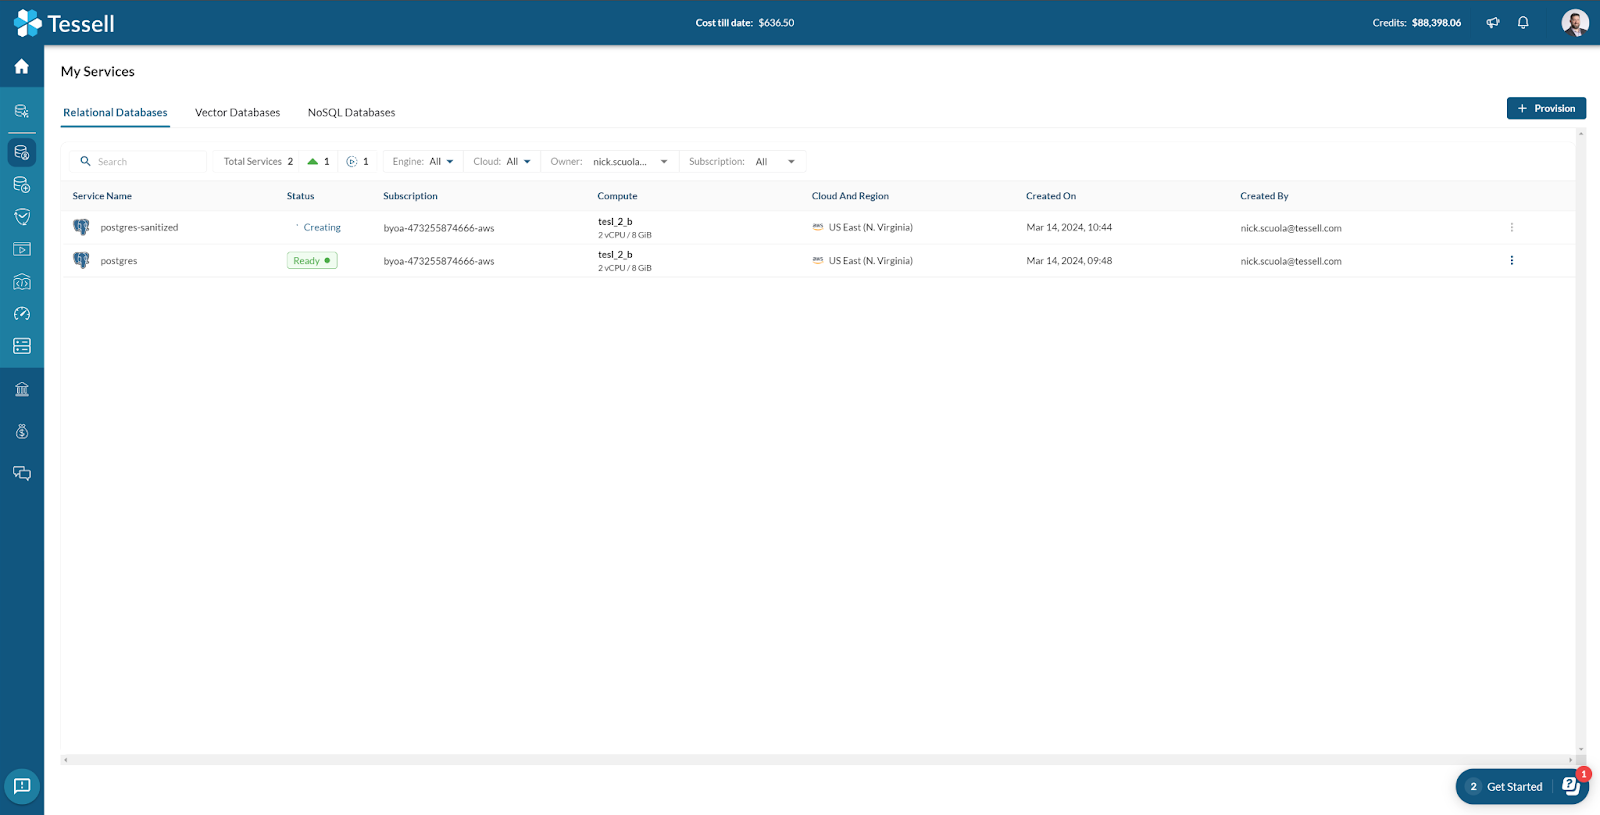
To begin, we have created a PostgreSQL instance in AWS. As you can see, there is a sample database with Airport data loaded (sample_database_airport_db).

We have connected to the database using pgAdmin 4 in this example. However, you can use whatever tool you prefer. We are working with the “employee” table and the data that we are focusing on are the “birthdate” and “password” columns. More on this later.
We will navigate to the Tessell Availability Machine to take a snapshot of the PostgreSQL database. To navigate to the Snapshots section of the Availability Machine, we will select DB Services > Availability Machines > <Select your DB Instance> Select Snapshots.
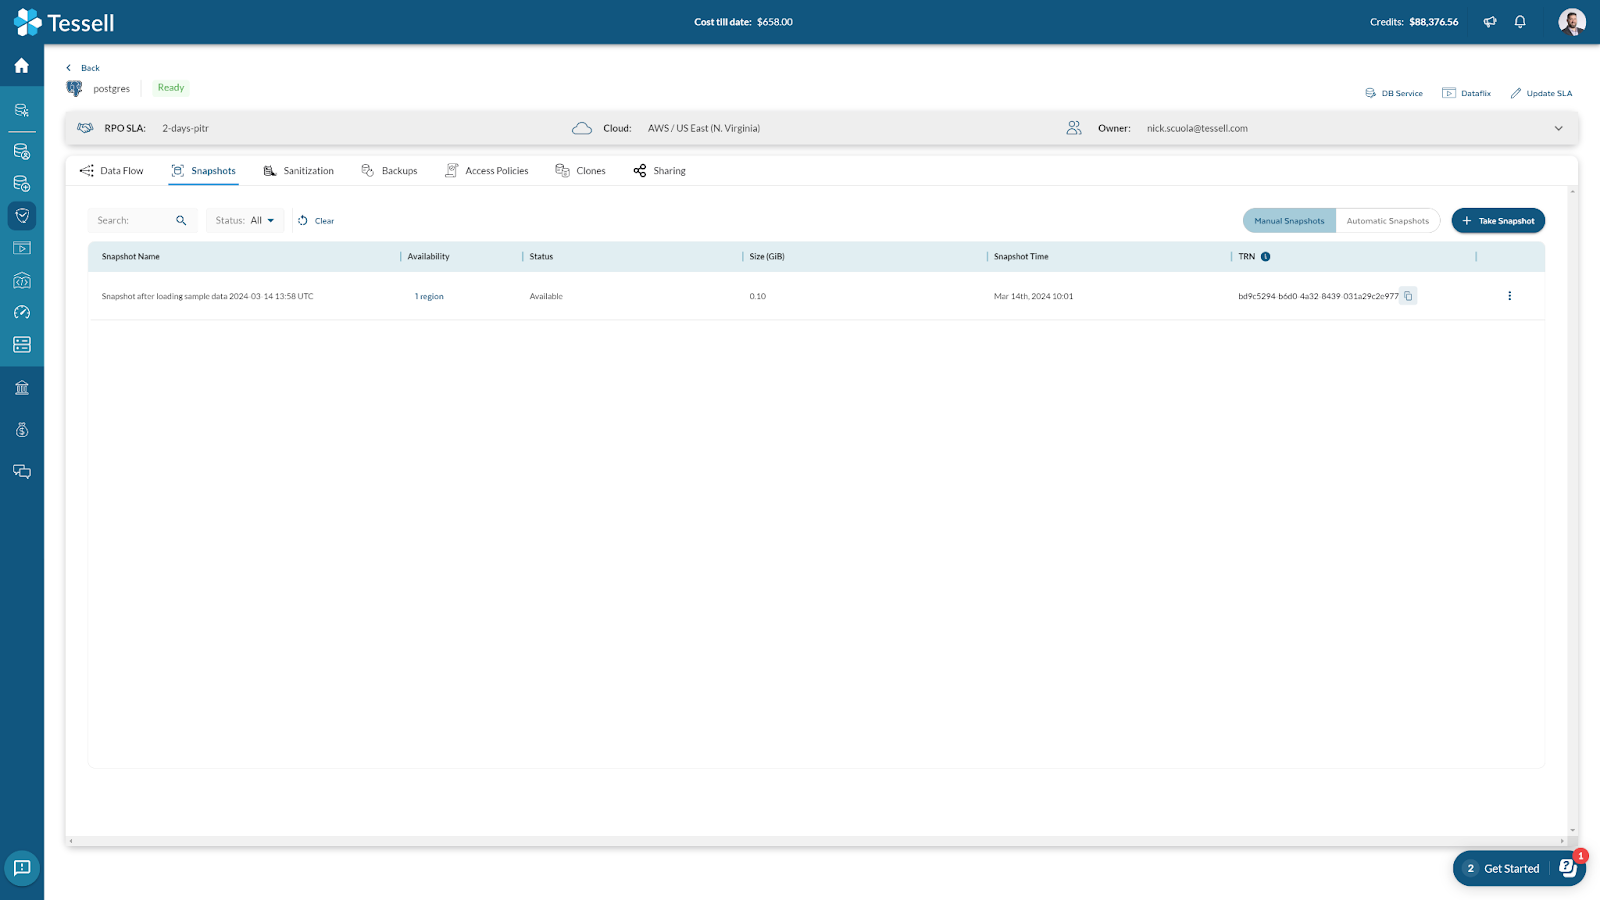
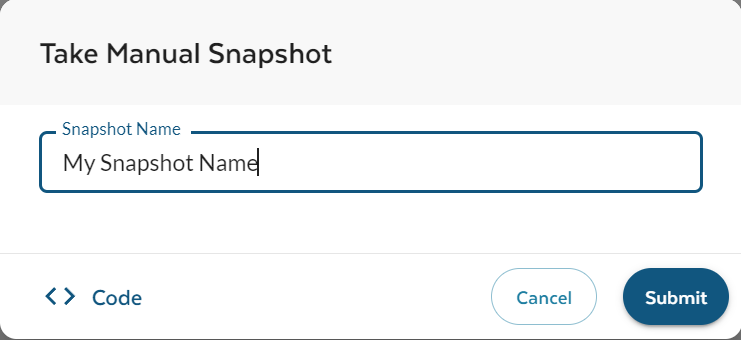
Then, from the Snapshots tab, we will click on Take Snapshot. Give the Snapshot a name and click Submit.
Perform a manual sanitization of the created snapshot
Within Tessell, customers can upload scripts (DB Service > Script Library) to perform various tasks. These scripts can be used as pre/post scripts during database provisioning, or as a method to mask or sanitize your database snapshots.
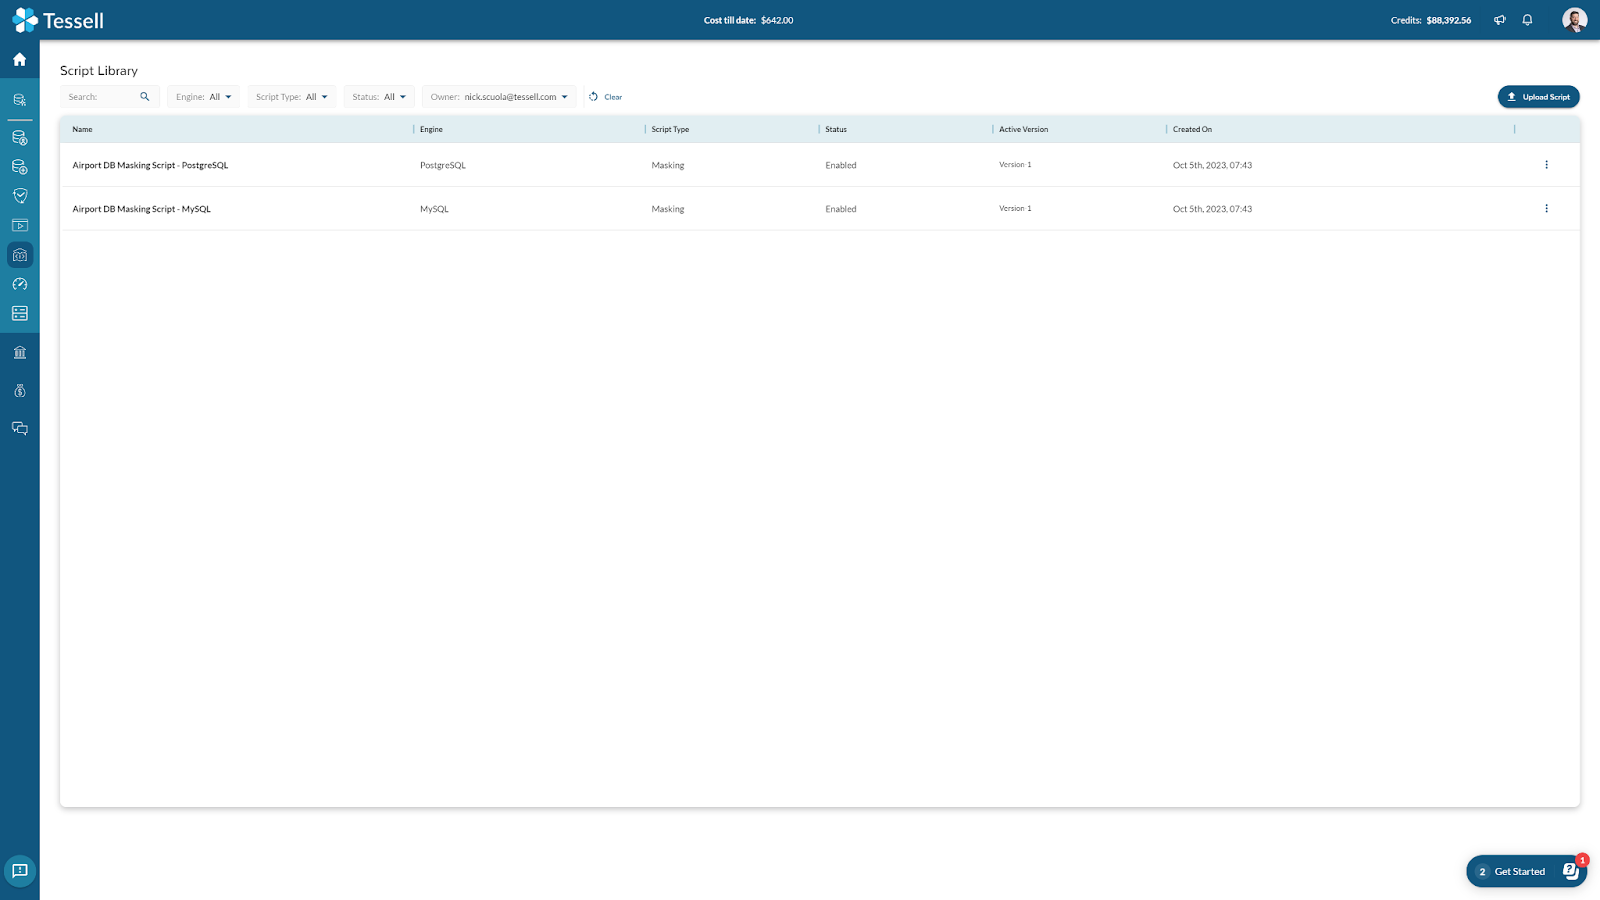
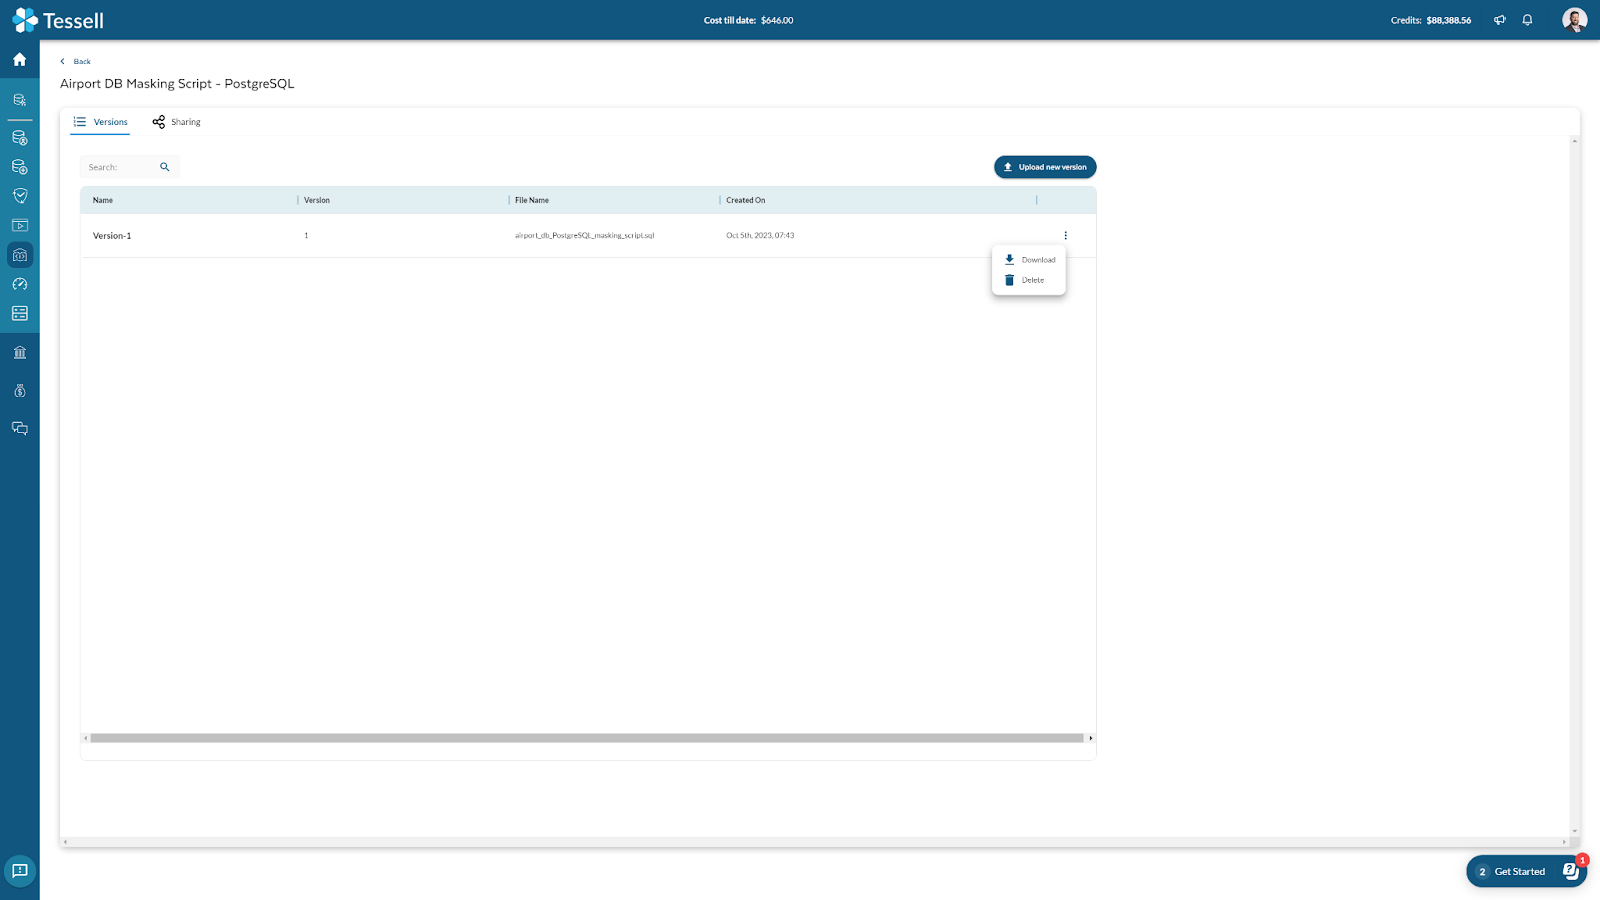
Since we are working with PostgreSQL in our example, we will focus on the “Airport DB Masking Script - PostgreSQL”. By clicking on the name of the script, we are brought to a details page that shows the versions of the script that are available. By clicking on the ellipsis, we can download the script.
Here is a copy of the script that we are using. As you can see, we will be masking the password column and setting the birthdate column for all employees to “1971-11-11”.
Now, we will navigate to the Tessell Availability Machine to take a snapshot of the PostgreSQL database, and then sanitize it. To navigate to the Snapshots section of the Availability Machine, we will select DB Services > Availability Machines > Select the “postgres” instance > Select Snapshots

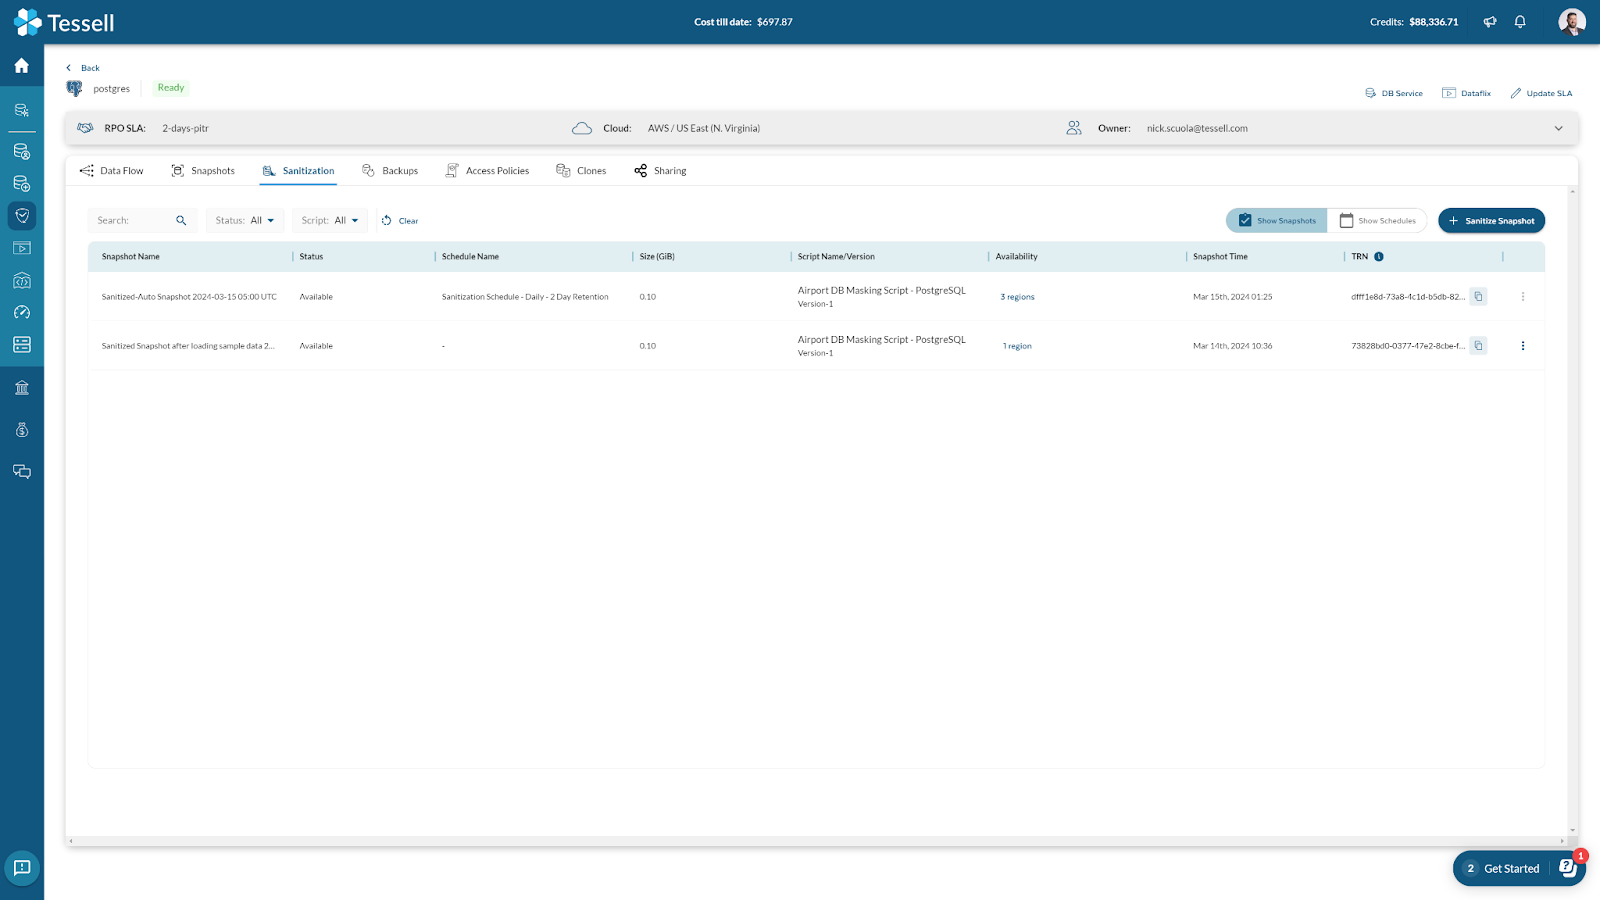
As you can see, we already have a snapshot named “Snapshot after loading sample data 2024-03-14 13:58 UTC”. Tessell will automatically provide snapshots when you first provision an instance, as well as when you load the sample database. Since we have a snapshot available, we will now select the Sanitization tab on top. On the Sanitization tab, we will select Sanitize Snapshot. We will choose the aforementioned snapshot, give it a Sanitized snapshot name, select the Airport DB Masking Script - PostgreSQL and a version if applicable, and then click Submit.

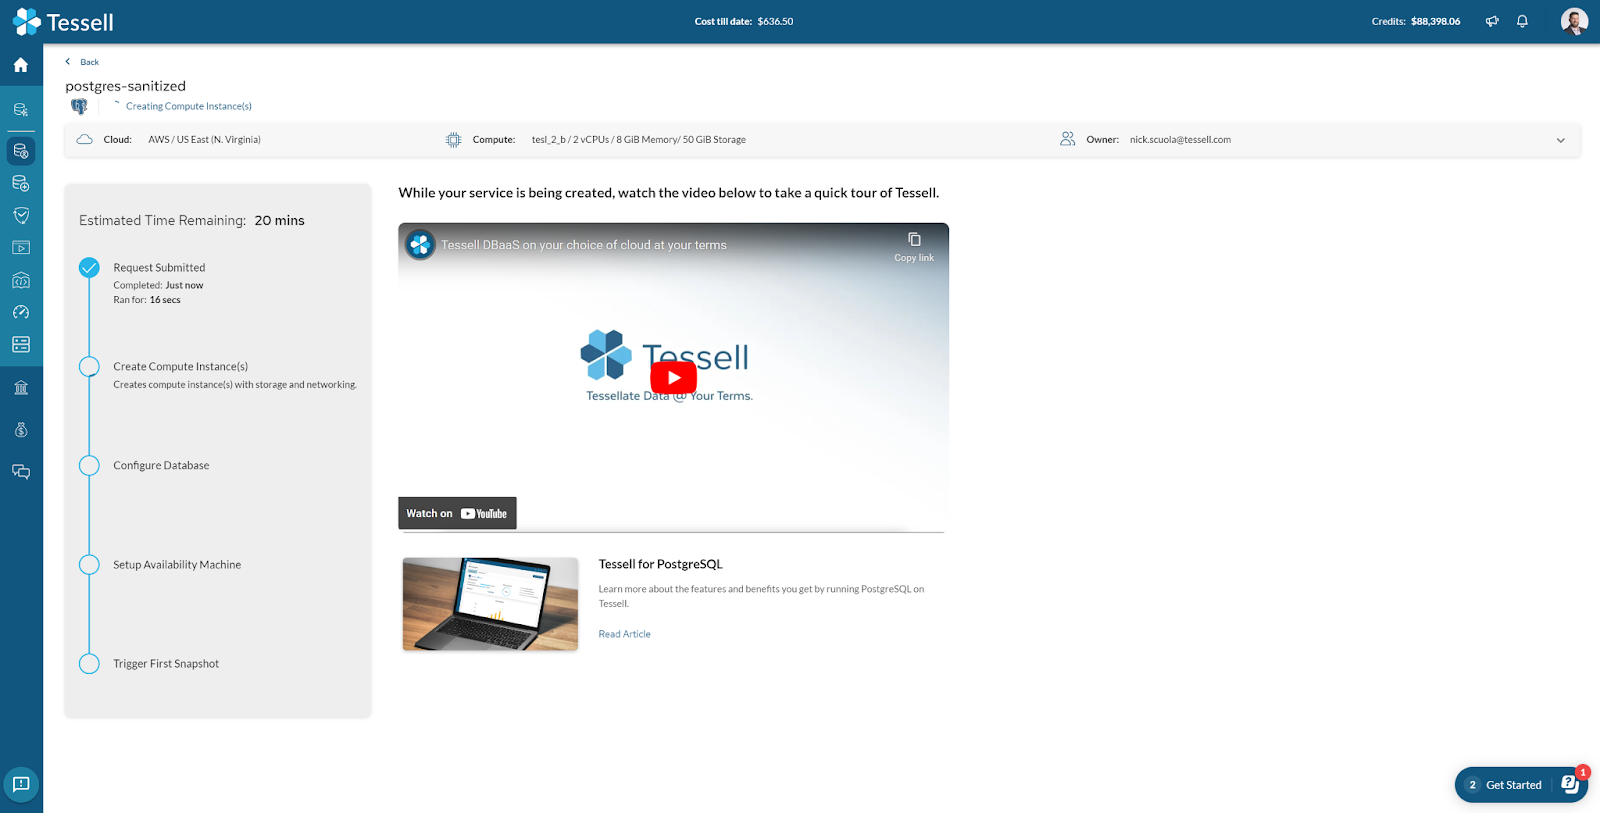
The Sanitized snapshot creation process will begin. Tessell will provide you with the progress of the operation.

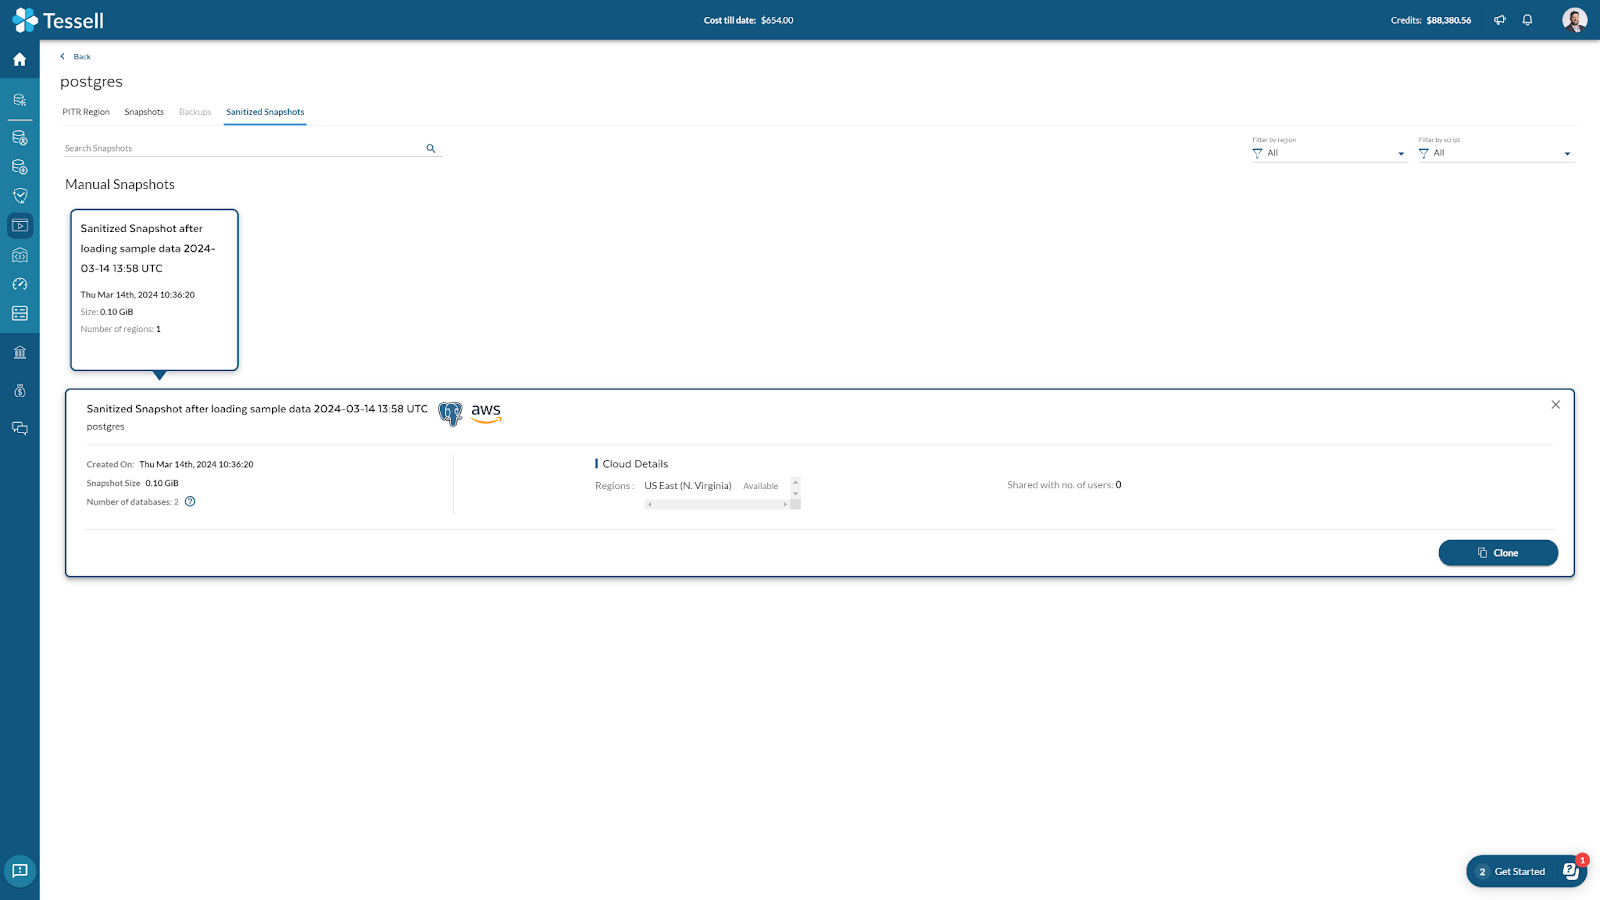
Once the operation is complete, you will now see a sanitized snapshot.
Clone the sanitized snapshot to a new instance
Now, that the Sanitized Snapshot is available, we can go ahead and create the Sanitized instance. To do so, we will navigate to the Dataflix app within Tessell. There is a shortcut on the upper right-hand corner of the Sanitization tab where you access the Dataflix app. You can also access Dataflix by going to DB Services > Dataflix > Select the DB Instance that you would like to manage.

Once in Dataflix, you can select the snapshot that you want to clone from under the Sanitized Snapshots tab, and then click on the Clone button.
We will then walk through the cloning process, this will create a new instance based on the sanitized snapshot that we selected earlier. This process will look nearly identical to the provisioning wizard within Tessell.
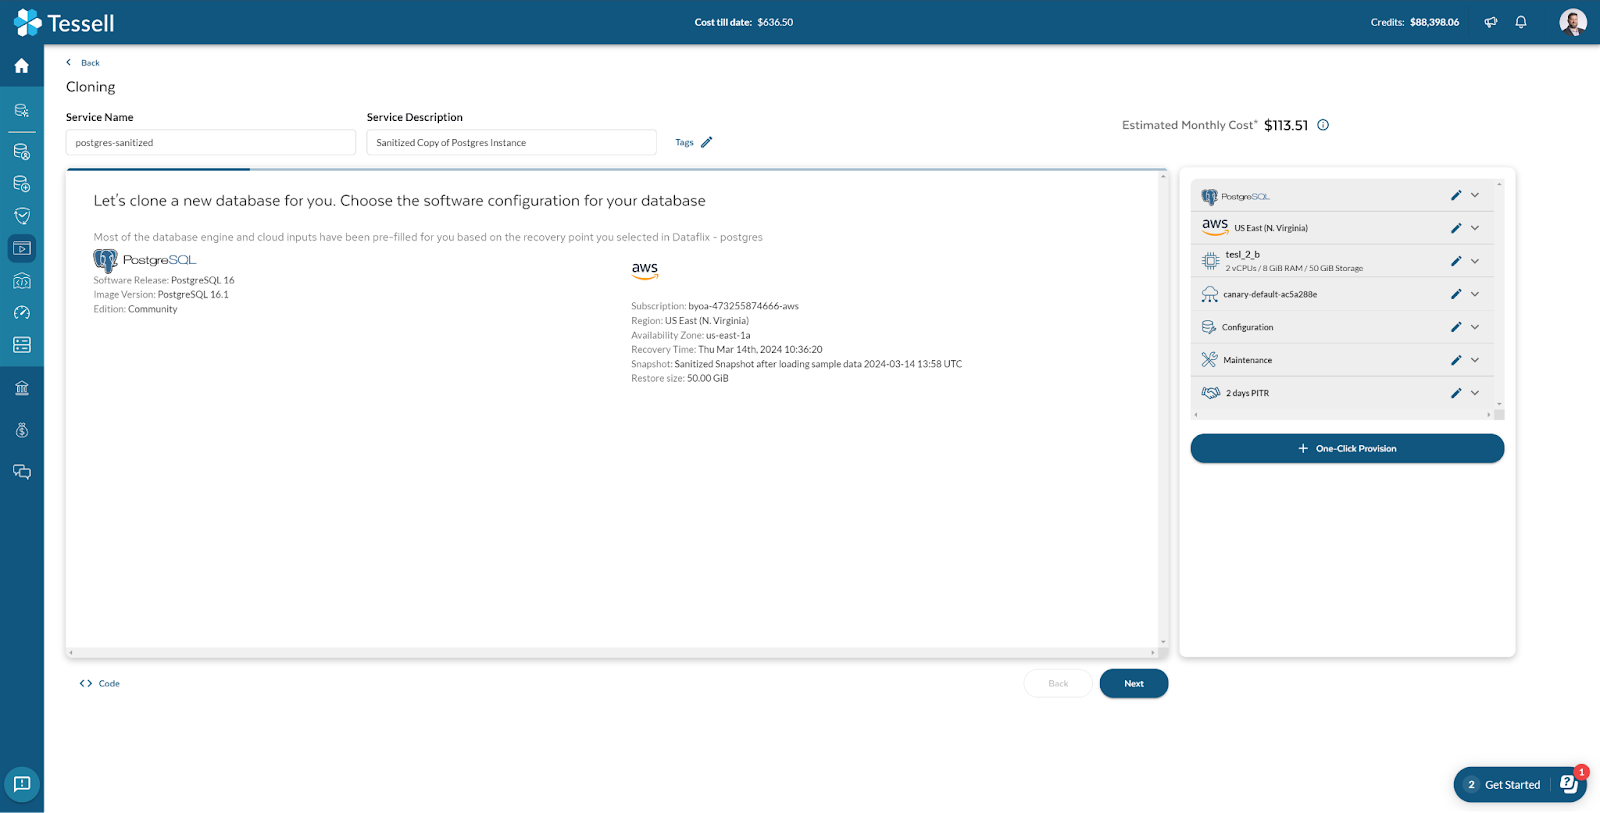
The cloning process will begin, and you can click on where it says Creating to view the status
Verify that the sanitization process was successful
Now that the process has been completed, we will connect to the instance using pgAdmin 4 as we did earlier with the PostgreSQL instance.
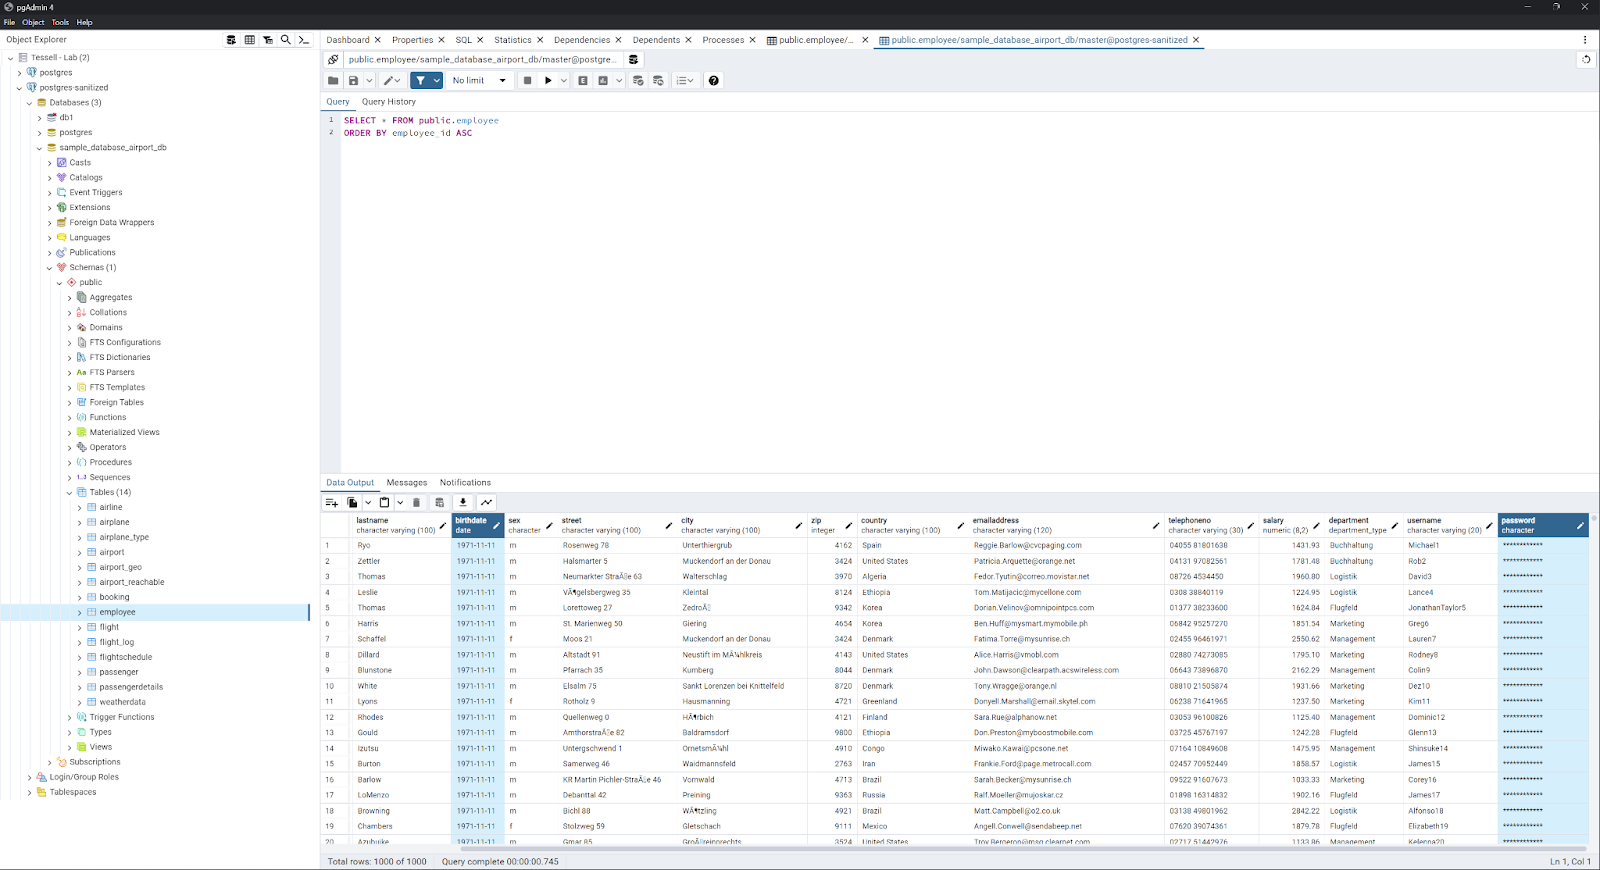
As you can see, the birthdate and password columns have been modified based on the script that we leveraged earlier.

We have successfully masked and sanitized the database.
Create a snapshot sanitization schedule
The process that we just went through was a manual process. This is great for the ad hoc request to sanitize a database instance. Tessell also provides the ability to sanitize your database instances in an automated fashion.
To get started, we will create a sanitization schedule. We will return to the Sanitization tab under the Availability Machines app (DB Services > Availability Machines > <DB Instance>), select the Show Schedules button, and then select Create Schedule.

On the Create a sanitization schedule window, we will provide a Schedule Name, Description, Frequency (in this case Daily), Snapshot retention (2 days in this example), Snapshot name prefix, a Script to use, and the version. We will then click on Save.
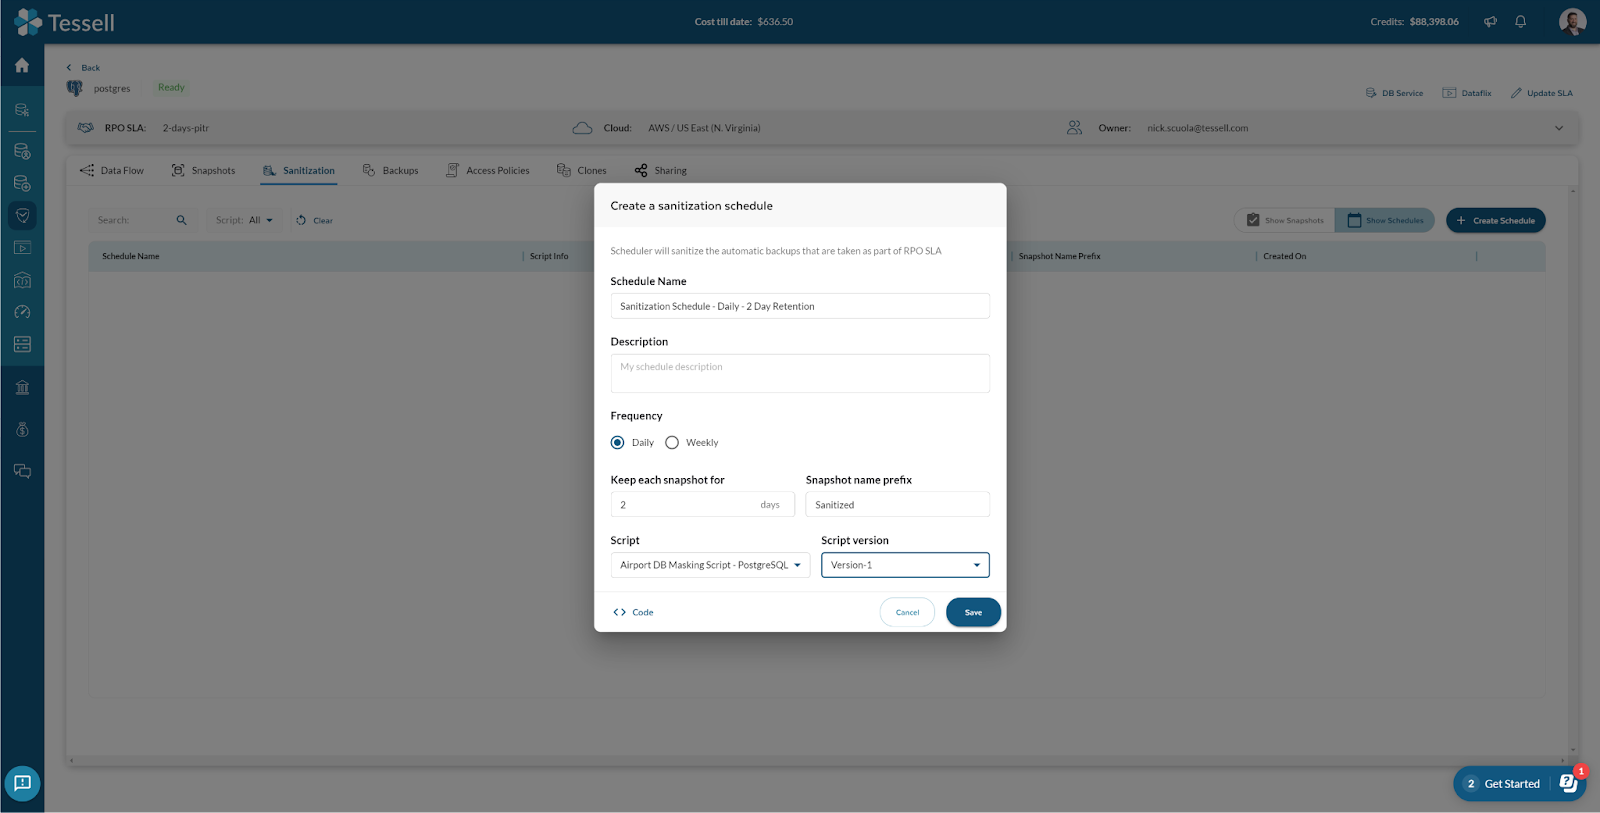
This will create the sanitization schedule.
Create an automated sanitization process
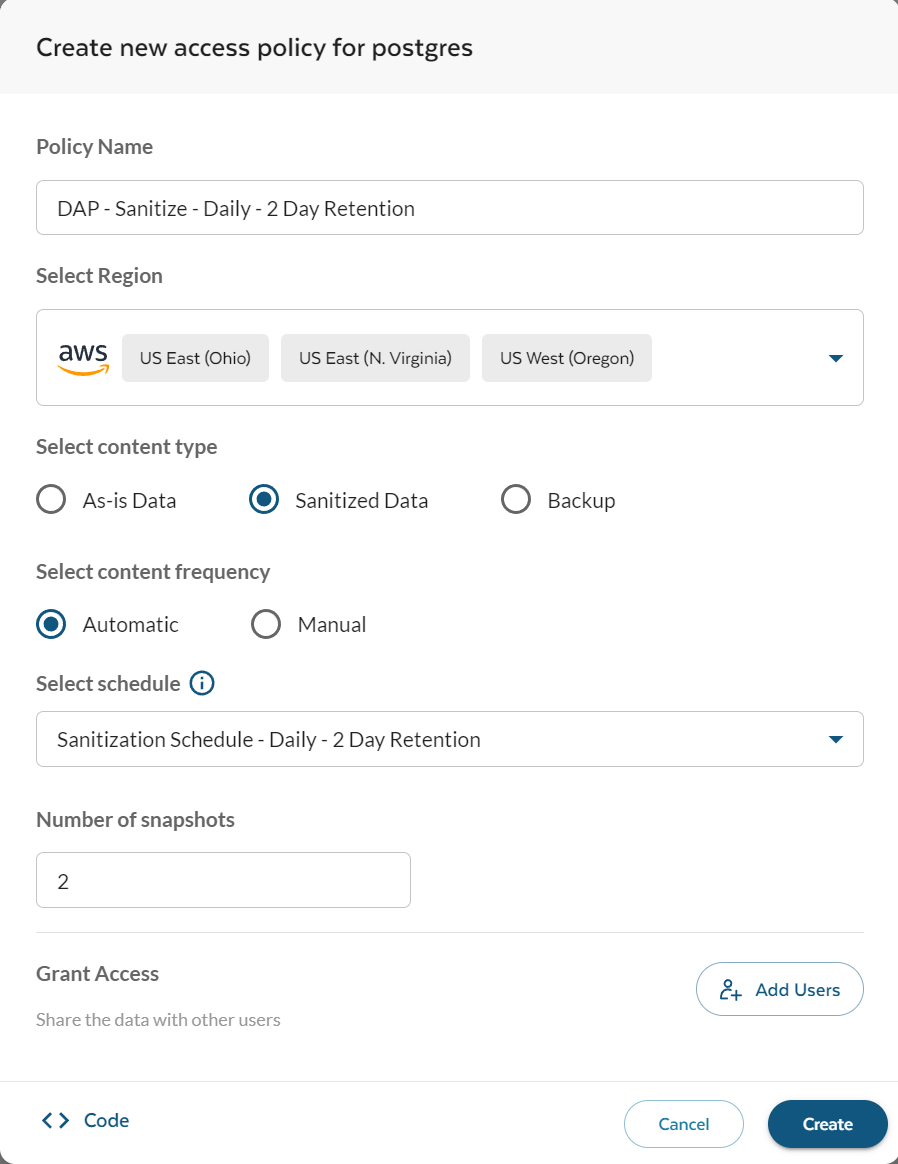
Now that we have a sanitization schedule created, we will create a Data Access Policy. This data access policy can copy our data from one region to another with the cloud of your choice.
This data can be copied into a number of different formats
- As-is Data
- Sanitized Data
- Backup
In our example, we will create sanitized copies of our PostgreSQL instance in the US East (Ohio), US East (N. Virginia), and US West (Oregon). We will select the Sanitization schedule that we created in the previous section and we will set the number of snapshots to retain to 2. We can also share this data with other Tessell users by clicking on the Add Users button. Once all of the options are selected, we will click Create.
We will now have a created Data Access Policy that will copy the sanitized snapshot data to different regions within the cloud. You can view this on the Data Flow tab of the Availability Machine.

As this schedule runs, you will have additional sanitized snapshots that you can clone as you see fit.